Shimmy Dampers
Is nosewheel shimmy bugging you? It’s a continuing problem for many aircraft owners. With the following, we offer suggestions to minimize the effects of, or even solve this annoying problem.
Is nosewheel shimmy bugging you? It's a continuing problem for many aircraft owners. With the following, we offer suggestions to minimize the effects of, or even solve this annoying problem.
In order to correct nose wheel shimmy problems we must understand what causes the nose wheel to shimmy in the first place.
Without getting too much into the geometry, any wheel contacting the ground either aft or forward of the turning axis is a caster-type wheel such as found on most aircraft nose wheels (and tail wheels). Any force that moves the caster-type wheel from the center (trailing) position (such as an out-of-balance condition or rough pavement surface) will cause a side-to-side oscillating movement.
If there is nothing in the system to resist or damp this movement the oscillations may increase in magnitude and frequency and this is known as shimmy. This situation is not exclusive to aircraft, as even the local grocery cart (a caster-type wheel arrangement) has been known to shimmy—but without dropping your avionics in your lap.
Shimmy happens as a result of any force that upsets aligned nose wheel rotation (i.e. nose wheel in line with the forward movement of the aircraft).
With a new steering system and perfectly smooth pavement surface, no shimmy should occur, as there is enough mechanical resistance to side-to-side movement in the steering system to halt or damp shimmy if it does occur.
What happens in the real world is that some or all parts are worn enough to allow shimmy to occur, and since these parts are worn, little or no resistance to the side-to-side movement promotes the shimmy. This is where the shimmy damper comes in—hydraulic resistance is provided and decreases or prevents shimmy.
The typical shimmy damper does a good job on minor oscillations but was never intended to stop shimmy from excessively worn parts. Older airplanes typically have the cumulative effect of worn nose gear, steering gear, and tire components.
It's the sum of all these worn parts that hinders shimmy damper operation, as the damper simply was not designed to overcome excess steering wear.
While most tricycle gear nosewheel shimmy dampers are similar and have similar common components, we will discuss the Cessna nose gear/shimmy damper arrangement. (Owners of Beechcraft, Piper, and similar aircraft should consult the aircraft maintenance manual for specific procedures.) Beechcraft dampers are much more complex creatures to overhaul, by the way.
Remember, per the FARs, the Cessna or other appropriate maintenance manuals must be referenced for all maintenance such as torque settings, lubricants and fluid servicing, specific part numbers, and detailed procedures.
Typically, shimmy is often diagnosed as a result of a bad shimmy damper. Often this may be true, but a symptom does not always point to the cause.
Frequently, worn or loose parts in the nose gear system are more likely the cause or primary contributor to the shimmy. Substantial parts wear keeps the shimmy damper from being able to do its job to control minor problems.
With this in mind, where do we begin? The Cessna maintenance manual lists seven items as possible causes. These are: 1) Nose strut attaching bolts loose; 2) Loose or worn nose wheel steering linkage; 3) Nose wheel out of balance; 4) Wheel bearings too loose; 5) Defective shimmy damper; 6) Shimmy damper low on fluid; and 7) Loose torque links.
I will discuss these in more detail, but again—while this applies to Cessna single engine models in general, many aircraft have the same problems (although some aircraft have sealed shimmy dampers that cannot be serviced). Additionally, a simple thing like tire inflation can significantly affect the tendency for nose wheel shimmy. Both over and under inflation aggravate the situation, as can excessive landing speed.
Nose Strut Bolts
Nose strut attaching bolts loose: Many Cessnas have an arrangement of an upper roll pin to attach the nose strut to the motor/nose gear mount and a clamp on the lower strut to attach the strut to the lower nose mount.
There have been cases of the roll pin and/or the lower clamp being loose. The nose gear must be mounted securely with no play in the mounting assembly.
Loose nose wheel steering linkage can happen anywhere from the rudder pedals to the steering collar attachment. The steering collar is one point of continued wear and any free play in the needle bearings is cause for replacement. Some play can be taken up in this area with special shims of varying thickness supplied by Cessna for this purpose.
Rod end bearings should have almost undetectable play. Any noticeable play in these bearings requires replacement. Check for worn attachment bolts in any of these areas as a small amount of wear in each area makes for cumulative excessive free play.
Do not tighten bolts beyond specification to add additional friction to take up free play as this only increases the likelihood of cracked or broken parts. Use shims where allowed, replace bushings if worn, and replace worn bolts.
Nose Wheel Linkage
Be especially careful when working with retractable gear aircraft, as additional length bolts or bolts installed 180 degrees out of sequence may prevent the nose gear from retracting—or worse, sticking in the nose wheel well.
Always use the proper parts—don't rely on the fact that "it was that way when it was removed." The previous installation could have been faulty.
For example, the bolts used in landing gear often use close-tolerance bolts. Substitution of whatever is in the toolbox is a very bad idea, so be sure to check the bolt head for special markings like "SP" or some similar indicator that it is a special bolt.
What can happen with a regular bolt in a close tolerance hole is accelerating the hole wearing speed dramatically due to vibration. Any time you make a lot of changes or serious inspection on retractable gear aircraft, consider a retraction test.
Nose Wheel Balance
Shimmy associated with out-of-round or irregular wear patterns is not uncommon. The left-turning tendency on take off with single-engine aircraft can create these irregular wear patterns.
Reversing the tire and shifting wear to both sides of the tire can help but eventually the inevitable will happen. The tire must be replaced if the shimmy becomes noticeable or if the tire is worn.
If there is no noticeable wear or out-of-round condition, tires can be balanced using glue-on weights and some type of static balancing equipment. A simple balancing setup can be made from some tubing the size of the axle, a stop arrangement to hold the bearings in place, and placing the tube in a vise to simulate the installed condition in the aircraft.
Wheel bearings must be free of grease and a light lube, substituted only during the balancing procedure. The heavy side will fall to the bottom and with some experimentation with different weights (installed temporarily on the light upper side) can lead to a balanced wheel. Glue on the weights only after the proper position is verified.
This works fairly well, but again the tire must be round to spec, and in good condition with no cupping or scuffing. After balancing, the bearings must be cleaned and re-greased before installing on the aircraft. The tire and tube relationship must be verified prior to attempting any balancing as tires and tubes are manufactured within balancing tolerances if installed properly.
The lightweight point on the tire is marked with a red dot on the sidewall, and the heavy point on the tube is also marked with a stripe (usually near the valve stem). The tire and tube should always be installed with this relationship; usually no further balancing is required.
Loose Wheel Bearings
Wheel bearings that are loose are an obvious problem and require corrective action. Tightening the axle nuts one cotter pin hole further may correct the problem, but some further checking may be required.
Inspect bearings for rough spots from corrosion; inspect spacers for rotation and galling against the nose gear forks. Rotate the wheel on the axle and listen for roughness transmitted through the fork. The bearings should run smooth and virtually noise free.
Shimmy Dampers
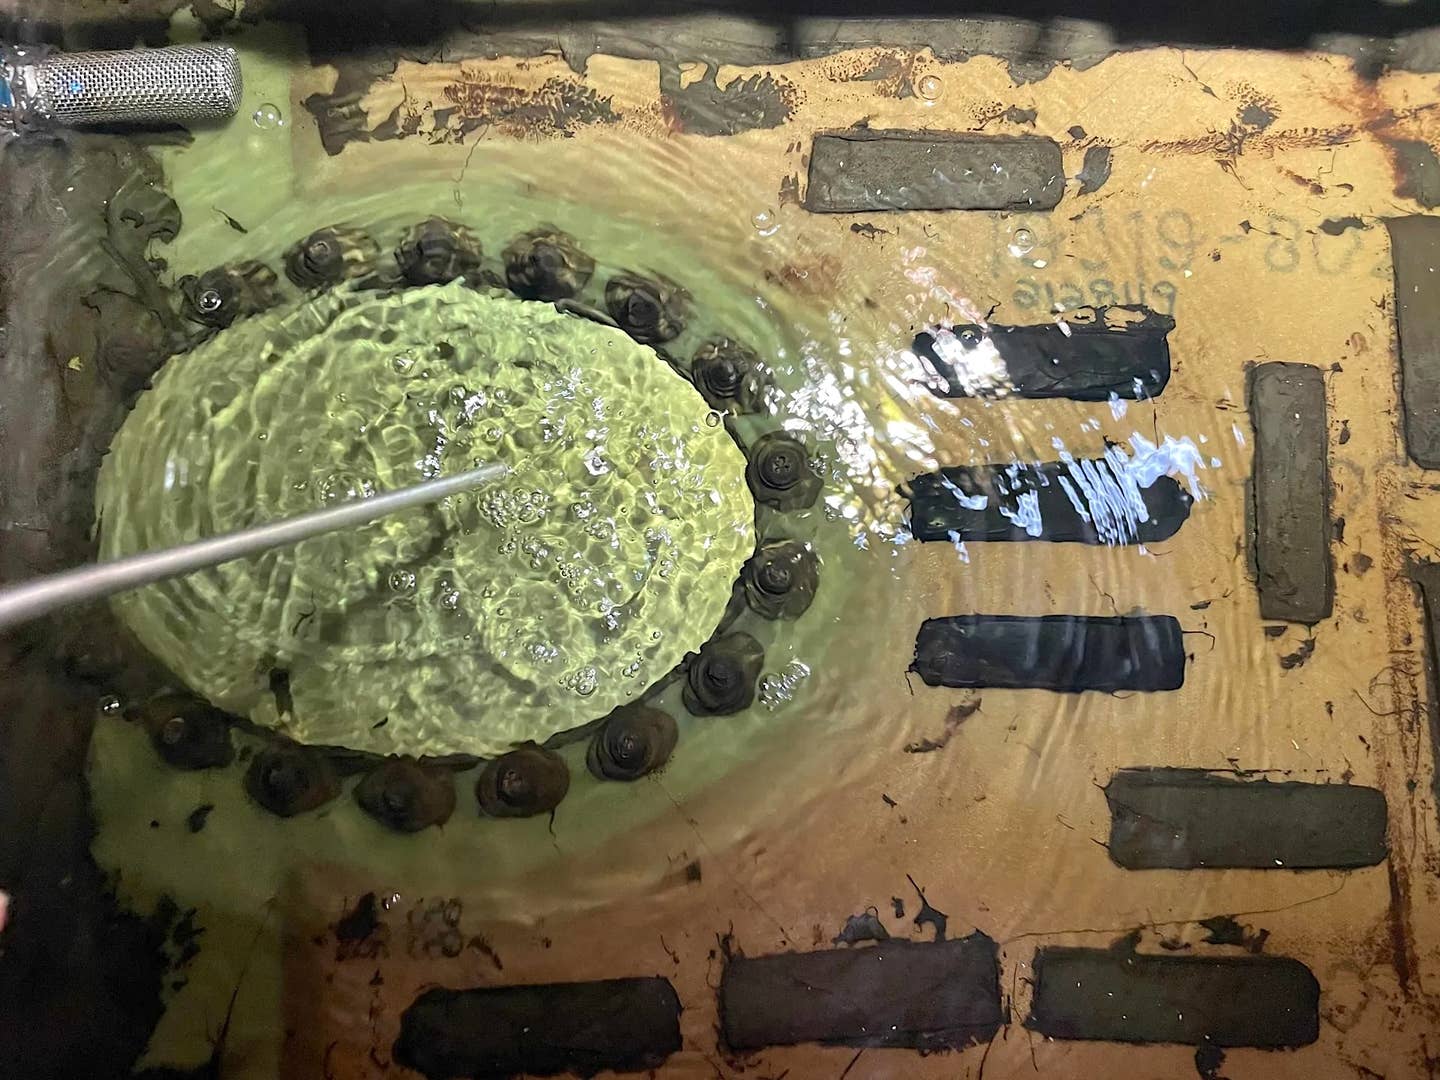
Installing new O-rings, and replacing the hydraulic fluid can repair a defective shimmy damper, but further repairs are generally not allowed. Some of the popular models of Cessna require only that the shimmy damper be removed, the unit cleaned of dirt, the shaft pulled back into the damper, and the unit be filled with fluid (5606A) hydraulic fluid or equivalent).
Some Cessnas require a specific amount of fluid, and cannot be serviced by just refilling, so always check the maintenance manual for your particular aircraft. Cessna recommends checking the shimmy damper for fluid service at 50-hour intervals. The units contain only a very small amount of fluid so any leakage will deplete the fluid supply significantly.
Leaks must be corrected as soon as they appear. Keeping the shaft clean can prevent damage to O-rings by dirt, etc. Leakage of hydraulic fluid requires replacing the O-ring seals and re-servicing.
Torque Links
Loose torque links are another common problem, and these must be kept free of any play. Generally, shims are used between the attachment points but as the bushings wear, these need to be replaced as well.
The parts to rebuild the torque links are available either as separate parts or as a kit from aircraft parts supply houses for about $99 discount. Most likely, the rebuild kit would be the route to take as usually the bushings in the torque link wear fairly rapidly and shims only correct small amounts of play.
Most torque link assemblies have grease fittings that require regular service to keep dirt, dust and moisture from entering and just a standard grease gun is all that is needed for servicing.
When removing torque links for parts replacement, deflate the nose strut. Support the tail to prevent the nose wheel from rising off the ground when the torque links are removed. There is a possibility that the nose strut will extend too far allowing fluid to escape from the nose strut even though the air pressure is relieved. Remember, supervision needed.
Replacing the bushings to correct loose nose gear torque links is relatively easy if you have the proper tools and parts. The links are usually made of aluminum and the bushings are bronze.
Using some very, very carefully applied heat (400 F max) from a propane torch to the aluminum links will cause the area containing the bronze bushings to expand and allow for easy removal of the bushings with a drift. If you start frying paint, it's too hot. This procedure is not for the unlicensed mechanic. Excess heat can destroy the metal's strength.
Bushings must fit tightly in the links. If they do not, the link will have to be replaced. Driving out the bushing when cool may damage the links by removing some metal as the bushing exits, enlarging the cavity. Placing the new bushings in ice and applying some heat to the links just prior to installation will make bushing replacement relatively easy.
When reassembling the torque link components be sure to grease the parts during assembly with the proper grade and amount of grease and replace missing grease fittings. Caution: Bolts of extra length or installed with the head facing the wrong way can prevent the nose gear from operating properly (interfering with steering or nose gear retraction in some cases), so always check the specific parts and service manual for your aircraft.
Most bolts and nuts in the nose gear steering assembly are cotter keyed rather than the self-locking type; be sure to install new cotter pins before completing repairs. Some retractables have electrical switches installed on the nose gear torque links, so make certain that the switch setting and wiring is not disturbed when servicing the torque links.
If the electrical switch is removed from the torque link the landing gear must be checked before flight for proper operation. Setting the switch back to the original position does not guarantee that the landing gear will operate properly.
After nose gear servicing of any kind, be sure to do a preflight check and taxi check before flight to be sure that everything is working properly.
In addition to all these checks, whenever severe shimmy is experienced, the aircraft should be checked closely for damaged parts such as cracked motor and nose gear strut mounts.
Also keep in mind that shimmy can damage radio and electronic equipment. Instruments such as gyros can be ruined, and aircraft structure can actually crack (like motor mounts) and break from all the vibration.
One recent C-172 accident was attributed to severe shimmy brought about by a combination of poor pilot technique and worn parts. Excessive airspeed during landing and forcing the nose onto the runway possibly started the sequence.
In addition to the poor technique, worn nose gear parts, and a rough runway surface contributed to the accident that happened at night.
The aircraft was destroyed when the torque links separated, the nose wheel turned sideways, and the aircraft actually flipped over off the runway and into a snow bank with a student pilot and family in tow.
While no one was hurt, it was an expensive lesson learned about shimmy. Allowing nose wheels to shimmy can be dangerous, and expensive, or even deadly.
Proper Technique
Always land at minimum speed for the conditions, allowing the nose wheel to settle gently. When making run-ups, taxi a few feet straight ahead before setting the brakes so you don't put side loads on the nose landing gear.
During take off, keep a neutral or slightly nose-up force rather than force the nose wheel down, especially at higher speeds. Keep the nose strut inflated to the proper extension. If the strut bottoms out during taxi, stop and investigate why and do not take off with a nose strut bottoming out.
Recheck that the CG is within limits and service the strut with fluid and gas as necessary. Taxiing or taking off with a flat or bottoming out strut can damage the landing gear and entire aircraft. Regularly check the nose tire for wear and proper inflation. Make nice easy turns whenever possible, avoid locked wheel turns. Lastly, use minimum force on the nose steering as excessive force can bend nose steering rods.
When towing an aircraft, make sure the towing angle limits are not exceeded, as forcing the nose gear past the normal limit will damage steering components, necessitating expensive repairs. If you find yourself in an improper situation during landing, go around rather than force the plane onto the runway. Go-arounds are cheap—damaging an aircraft is not.
Shimmy Damper Options
Aircraft parts are becoming more expensive, and with older aircraft sometimes difficult to obtain at any price. Shimmy dampers fall into that category—as the average age of the general aviation creeps past the 35-year mark, many components need to be replaced completely.
Old shimmy dampers that leak continually and that have been rebuilt many times should be retired as they can no longer function in the job they were designed to do.
A new type of shimmy damper was introduced a few years ago. It is not user serviceable and does not contain hydraulic fluid.
The unit, made by the Lord Corporation, (phone 877-275-5673), www.lord.com is approved to replace the shimmy damper found on different models of Cessna 150, 152 and 172 aircraft.
Additional units are being evaluated for other aircraft models. Lord is working with Cessna on installations for new Cessna aircraft. The price is in the realm of a conventional new damper at $595, and there is peace of mind knowing something is going to work properly for a long period of time.
Lord has made an agreement with Cessna to make them available through the Cessna distribution system, which makes getting them from your Cessna dealer now possible. They are also available through Chief Aircraft, www.chiefaircraft.com. Phone (800) 447-3408.
Lord Design—A Different Approach
The Lord units use a new type of non-hydraulic resistance between a rubber and a high tech lubricant material that requires no fluid servicing and works equally well in all weather conditions. Since they contain no fluid they can't leak and dust and dirt have shown minimal effect on service life.
The Lord units have been tested for over 5,000 landings and takeoffs with no apparent reduction in shimmy dampening ability and are available through Aviall, Heber Aircraft, and Superior Airparts as well as some of the more popular aviation discount houses.
More information regarding the non-hydraulic shimmy damper can be read in a paper by Andrew Meyers of the Lord Corporation titled the development and operation of the "Non-Hydraulic Shimmy Damper" in SAE Technical Paper Series 2000-01-1710 dated May, 2000.
While shimmy dampers used in aircraft steering systems are important, the entire system that they are installed to protect must be maintained and worn parts replaced on a continuing basis. If the nose gear components are not maintained and serviced according to manufacturers' instructions, even the best unit will fail to prevent shimmy.
A certificated aircraft owner with at least a private license can check and service wheel bearings, change tires legally, as well as perform any of the other checks outlined above, where only visual or "wiggle" inspections are being performed. Adjustments of the steering, torque links, or damper removal requires a licensed mechanic or his supervision.
This article first appeared in the May 2013 issue of Light Plane Maintenance.
Read More from Light Plane Maintenance, and learn how you can receive your FREE copy of 40 Top Maintenance Tips.


